Introduction
ITS recommends the use of Mozilla Thunderbird as an email client. Thunderbird is a free software mail client that can be downloaded from Mozilla. Versions for Microsoft Windows, Apple Mac OS X, and Linux are available.
ITS recommends the use of Mozilla Thunderbird as an email client. Thunderbird is a free software mail client that can be downloaded from Mozilla. Versions for Microsoft Windows, Apple Mac OS X, and Linux are available.
This guide will walk though the installation and setup of
Thunderbird as your mail client.
Installing Thunderbird
The latest version of Mozilla Thunderbird can be downloaded at http://www.mozilla.org/thunderbird/.
Once downloaded, run and follow the on-screen instructions to install the application.
The latest version of Mozilla Thunderbird can be downloaded at http://www.mozilla.org/thunderbird/.
Once downloaded, run and follow the on-screen instructions to install the application.
Setup
Upon opening Thunderbird for the first time you will be presented with an Account Setup Wizard.
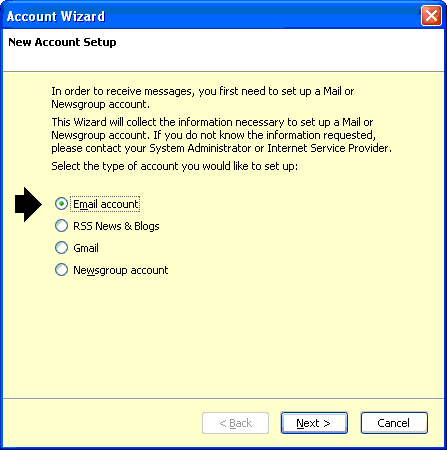
Here, select Email account and click Next.
Upon opening Thunderbird for the first time you will be presented with an Account Setup Wizard.
Here, select Email account and click Next.
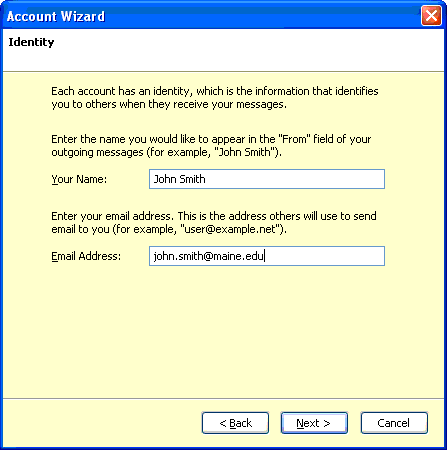
On the next screen you will be asked to provide your name and email address.
This name will be presented when people receive email from you, so you
should your proper name.
For your email address, you should enter your UMS username,
followed by @maine.edu. For example:
john.smith@maine.edu.
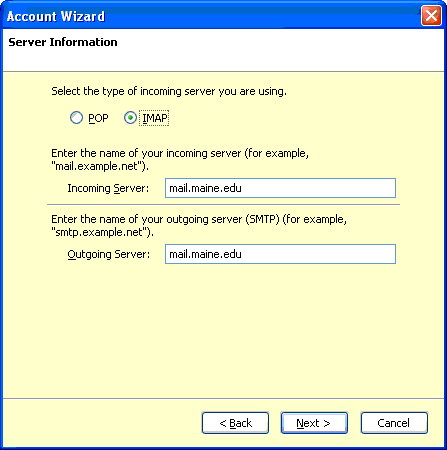
After clicking Next again, you will be asked to select the type of mail account
you wish to configure. For more information on the difference between IMAP
and POP account see Mail Client Protocols.
ITS recommends the use of IMAP. The sever address for both Incoming and Outgoing
mail should be mail.maine.edu.
The next screen will ask you for your username. This will be your UMS
username.

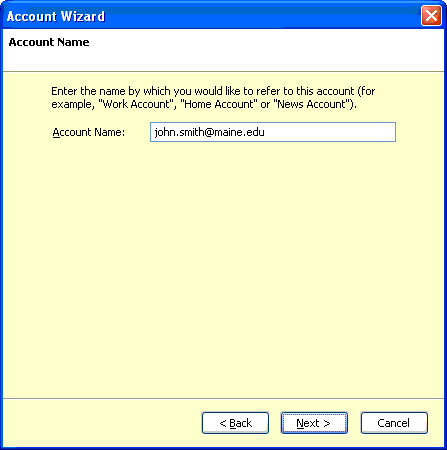
After filling out your username, you will be asked to provide a description for this
mail account. You can enter whatever value you like here as it will be for
your convenience only.
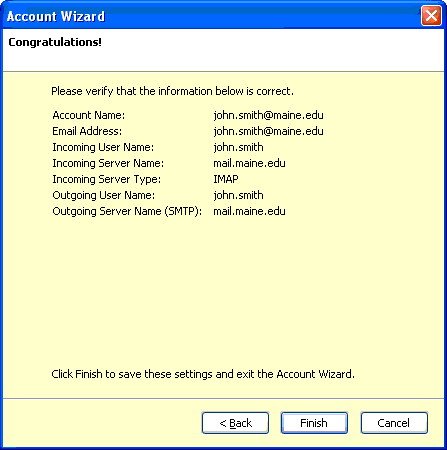
The last screen will allow you to review your settings. Check to make sure
everything is accurate, then click Finish.
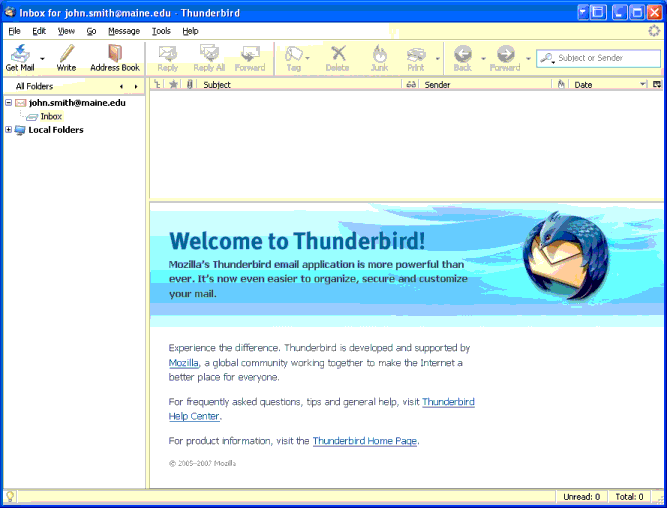
After clicking Finish you will see your mail client. If you are prompted to
provide a password skip that step for now.
Because the Account Wizard does not ask you if you wish to enable SSL, we also need to enable that before you can use your mail account.
Because the Account Wizard does not ask you if you wish to enable SSL, we also need to enable that before you can use your mail account.
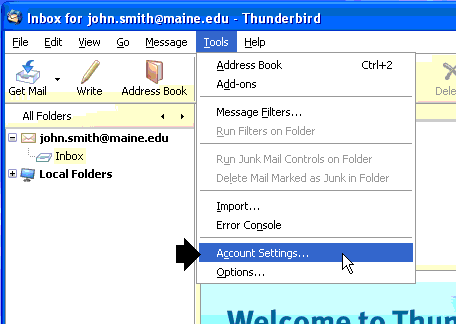
To access Account Settings, click on the Tools menu as shown
below.
The Account Settings window will appear.
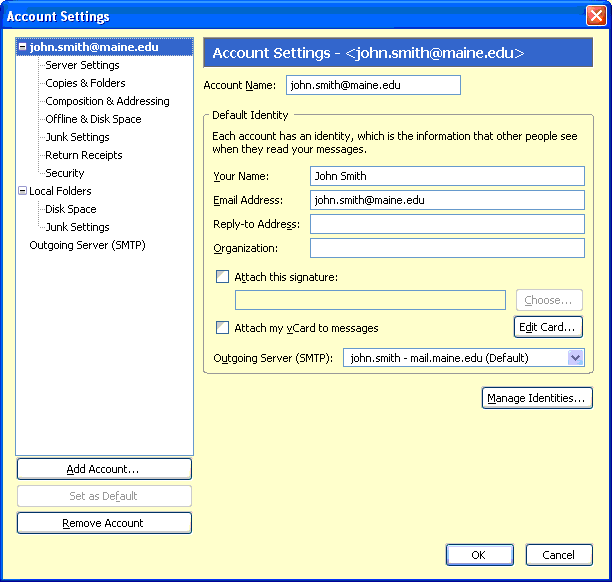
Select Server Settings from the left.
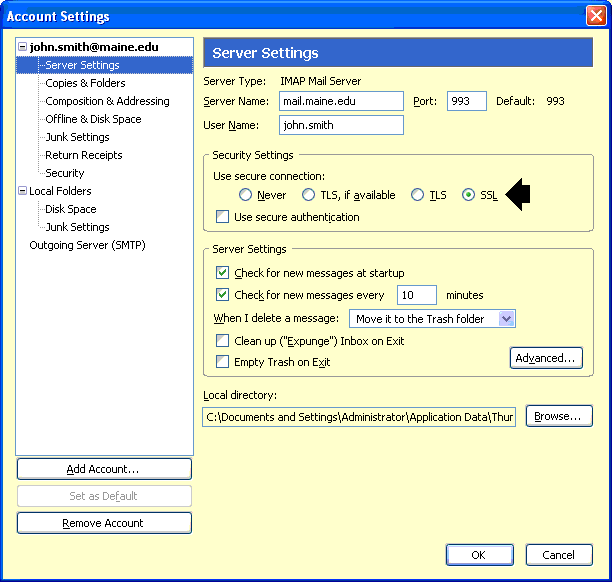
Here select SSL under Security Settings as shown.
Here select SSL under Security Settings as shown.
Next, select Outgoing Server (SMTP) from the left.
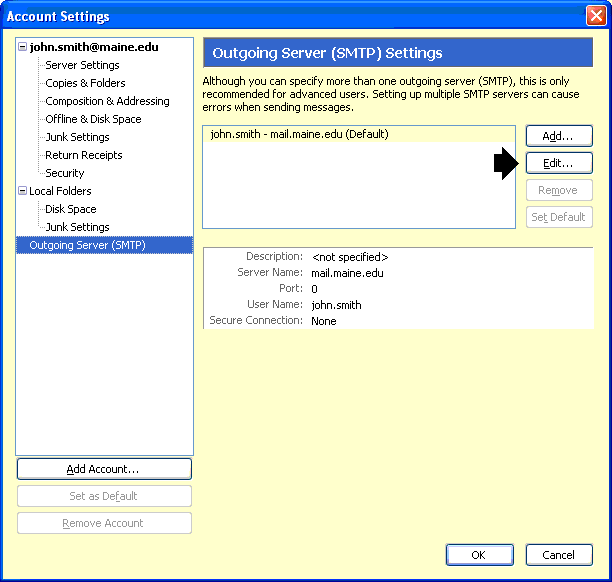
Here, highlight mail.maine.edu and click Edit.
Here, highlight mail.maine.edu and click Edit.
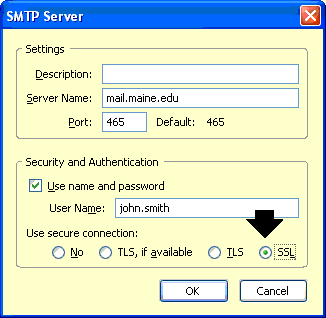
The SMTP Server window will appear. Here, select SSL
under Use secure connection, then click OK.
Click OK again, and you will return to your email client. Thunderbird is now ready to use.
Click OK again, and you will return to your email client. Thunderbird is now ready to use.